Tennant S20 Parts Manual: A Comprehensive Guide
This manual, revision 13 (02-2022), details the Tennant S20 rider sweeper, covering gas/LPG and battery models for hard surface cleaning․
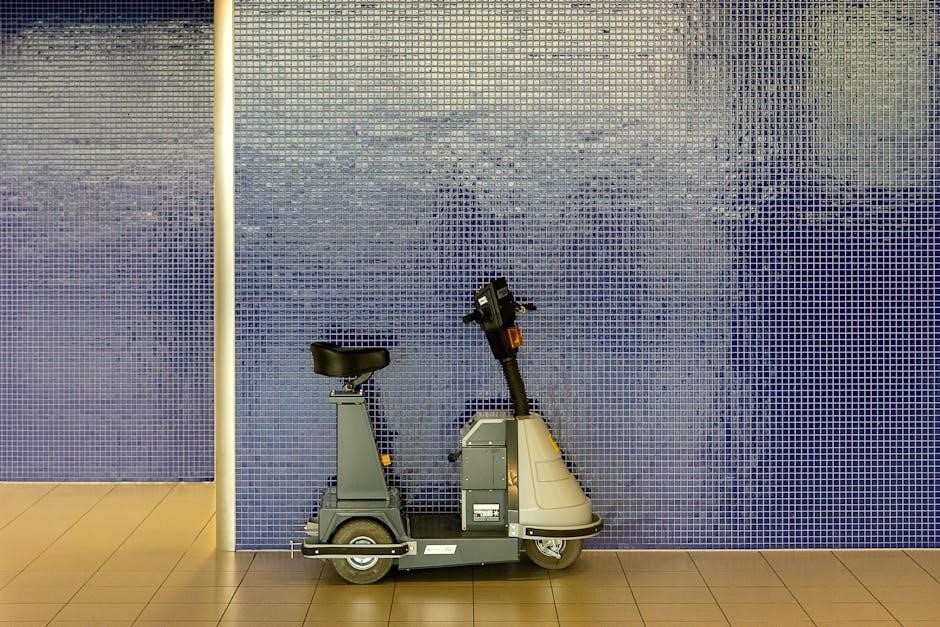
The Tennant S20 is a robust, industrial-grade rider sweeper meticulously engineered for efficient cleaning of expansive hard surfaces․ These surfaces include concrete, asphalt, stone, and various synthetic flooring types commonly found in warehouses, manufacturing facilities, and outdoor commercial areas․ Available in both gas/LPG and battery-powered configurations – identified by part numbers 9006719 and 9006704 respectively – the S20 offers versatile cleaning solutions tailored to diverse operational needs․
This machine is designed for demanding environments, prioritizing both performance and durability․ Understanding its components and maintenance requirements, as detailed within this parts manual, is crucial for maximizing its lifespan and maintaining optimal sweeping efficiency․ The S20’s core function revolves around effectively removing debris, dust, and other contaminants, contributing to safer and more productive work spaces․
S20 Model Variations: Gas/LPG vs․ Battery
The Tennant S20 is offered in two primary power source variations: Gas/LPG and Battery, each catering to distinct operational preferences and environmental considerations․ The Gas/LPG model (part number 9006719) provides extended run times and rapid refueling, ideal for continuous, large-scale sweeping applications․ Conversely, the Battery model (9006704) delivers zero-emission operation, making it suitable for indoor environments or areas with strict air quality regulations․
While sharing a common mechanical framework, these variations necessitate specific part distinctions, particularly within the engine/motor, fuel system (Gas/LPG), and battery/charging components (Battery)․ This manual clearly delineates these differences, ensuring accurate parts identification and ordering for either model․ Understanding these distinctions is paramount for effective maintenance and repair procedures․
Understanding the SweepSmartt System
The Tennant S20 incorporates the advanced SweepSmartt System, a key feature enhancing sweeping performance and efficiency․ This system, detailed in the service manual, utilizes a combination of mechanical and potentially electronic components to optimize debris collection across various hard surfaces․ It’s designed for industrial rider machines, ensuring effective cleaning of concrete, asphalt, stone, and synthetic flooring․
Understanding the SweepSmartt System is crucial for diagnosing issues related to sweeping effectiveness․ The system’s functionality relies on proper operation of brushes, vacuum systems, and dust control mechanisms․ The service manual provides specifications, safety precautions, and maintenance guidelines specifically for this system, aiding technicians in troubleshooting and maintaining peak performance․ Proper maintenance extends component life and minimizes downtime․

Key Components & Parts
Essential parts include brush systems, filtration, vacuum components, and the drive system; readily available from Tennant suppliers for swift repairs․
Brush Systems: Disc & Side Brushes
The Tennant S20 utilizes both disc and side brushes for effective sweeping performance․ Disc brushes, typically 23-inch nylon single-row designs, are crucial for main sweeping action, effectively agitating and lifting debris from various hard surfaces․
Side brushes extend the cleaning path, reaching edges and corners often missed by the main brush․ These are available in different materials and configurations to suit specific cleaning needs․ Regular inspection and replacement of worn brushes are vital for maintaining optimal sweeping efficiency․
Proper brush tension and alignment are also key factors impacting performance․ Refer to the parts manual for specific brush specifications and recommended replacement intervals to ensure continued reliable operation of the S20 sweeper․
Filtration System & Dust Control
The Tennant S20’s filtration system is critical for maintaining air quality and preventing dust recirculation during operation․ A robust filtration system captures fine particles, ensuring a cleaner working environment and preventing damage to internal components․
This system typically includes a primary filter to capture larger debris and a secondary, finer filter for dust control․ Regular filter maintenance, including cleaning or replacement, is essential for optimal performance․
The parts manual details specific filter types and replacement schedules․ Neglecting filter maintenance can lead to reduced sweeping efficiency and increased dust emissions․ Proper filtration contributes to a healthier and more productive workspace․
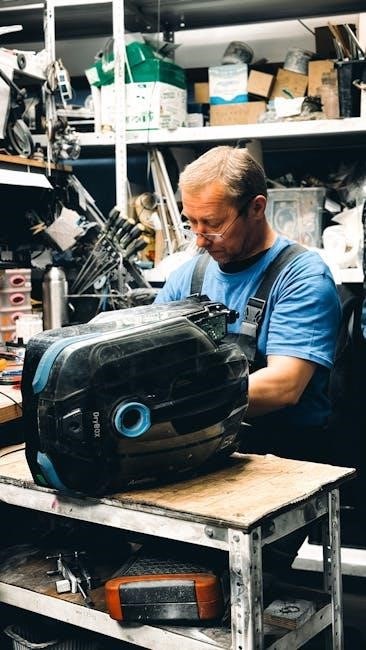
Vacuum System Components
The Tennant S20’s vacuum system is integral to its sweeping effectiveness, responsible for lifting and collecting fine dust and debris after initial brush action․ Key components include the vacuum motor, vacuum hoses, and a dust collection bin or hopper․
The parts manual provides detailed diagrams and part numbers for each component, facilitating accurate repairs and replacements․ Maintaining a strong vacuum is crucial for preventing dust clouds and ensuring a thoroughly cleaned surface․
Regular inspection of hoses for cracks or blockages, and verification of motor functionality, are vital maintenance steps․ Proper vacuum system operation directly impacts the overall cleanliness achieved by the S20 sweeper․
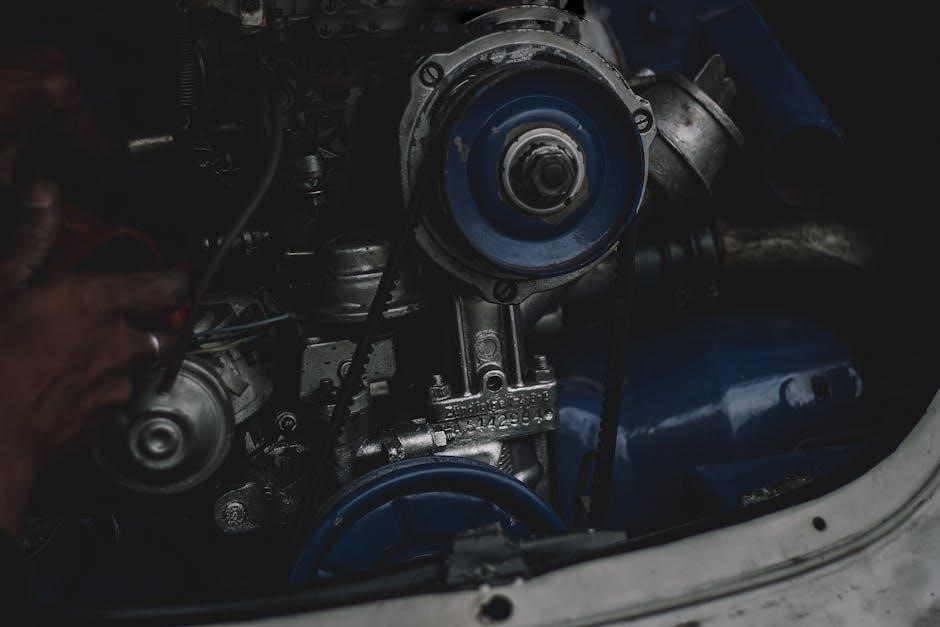
Drive System & Traction
The Tennant S20’s drive system ensures reliable and efficient movement across various surfaces․ Core components include the engine or motor (depending on the model – gas/LPG or battery), transmission, drive wheels, and associated hardware․
The parts manual meticulously details each element, offering exploded views and precise part numbers for simplified maintenance and repair․ Maintaining proper traction is essential for optimal sweeping performance, especially on inclines or uneven terrain․
Regularly inspect drive belts, tires, and the transmission for wear and tear․ Addressing issues promptly prevents costly downtime and ensures the S20 continues to deliver dependable operation․
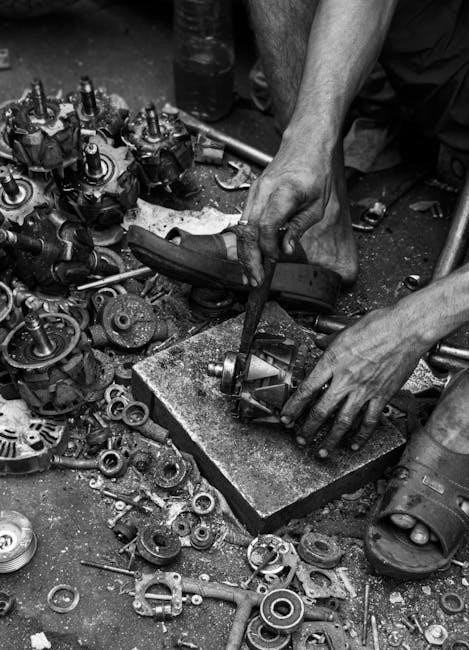
Maintenance & Repair
Consistent maintenance, guided by the manual, is crucial for the Tennant S20’s longevity․ This section details schedules, parts, and procedures for optimal performance․
Routine Maintenance Schedules
Establishing a consistent routine maintenance schedule is paramount for maximizing the operational lifespan and efficiency of your Tennant S20 sweeper․ The manual outlines specific intervals for various checks and services, categorized by operating hours or calendar time – whichever comes first․
Daily inspections should include checking fluid levels (hydraulic, coolant, etc․), tire pressure, and brush condition․ Weekly tasks encompass a more thorough examination of the drive system, vacuum components, and filtration system․ Monthly maintenance involves greasing lubrication points, inspecting belts and hoses for wear, and verifying the functionality of safety devices․
Furthermore, the manual details annual or bi-annual services, such as complete hydraulic system checks, brake system overhauls, and electrical system inspections․ Adhering to these schedules minimizes downtime, prevents costly repairs, and ensures the Tennant S20 continues to deliver peak performance․
Brake System Maintenance & Parts
Maintaining the brake system of your Tennant S20 is crucial for operator safety and efficient machine control․ Regular inspections should focus on brake pad wear, hydraulic line integrity, and master cylinder function․ The parts manual details exploded views of the brake system, facilitating accurate identification of components like brake shoes, drums, and calipers․
Routine maintenance includes bleeding the brake lines to remove air, adjusting brake linkages for optimal responsiveness, and replacing worn brake pads or shoes promptly․ Ignoring brake system issues can lead to increased stopping distances and potential accidents․
The manual lists specific part numbers for all brake system components, ensuring compatibility and proper fit․ Always use genuine Tennant parts or approved replacements to maintain system performance and reliability․ Proper brake function is non-negotiable for safe operation․
Hydraulic System Overview & Parts
The Tennant S20’s hydraulic system powers critical functions, including the brush deck lift and potentially other attachments․ This system relies on a hydraulic pump, reservoir, hoses, cylinders, and filters to operate efficiently․ The parts manual provides detailed diagrams illustrating the layout and components of the hydraulic circuit, aiding in troubleshooting and repair․
Regular maintenance involves checking hydraulic fluid levels, inspecting hoses for leaks or damage, and replacing filters at recommended intervals․ Contaminated hydraulic fluid can cause premature wear and system failure․
The manual lists specific part numbers for pumps, cylinders, valves, and hoses, ensuring correct replacements; Always use the specified hydraulic fluid type to prevent damage to seals and components․ A well-maintained hydraulic system ensures optimal performance and longevity․
Electrical System: Relays & Wiring
The Tennant S20’s electrical system controls various functions, from motor operation to safety interlocks and indicator lights․ A crucial component is the relay system, managing power distribution to different circuits․ The parts manual provides comprehensive wiring diagrams, detailing the connections and components within the electrical harness․
Troubleshooting electrical issues requires a systematic approach, utilizing a multimeter to test for voltage and continuity․ Common problems include blown fuses, faulty relays, and damaged wiring․ Identifying the correct relay or wiring component relies heavily on accurate diagrams․
The manual lists part numbers for relays, connectors, switches, and wiring harnesses․ Always disconnect the battery before working on the electrical system to prevent shorts and potential hazards․ Proper electrical maintenance ensures safe and reliable operation․

Parts Identification & Ordering
Locate detailed parts diagrams within the manual and utilize Tennant’s suppliers for efficient ordering of necessary components for your S20 sweeper․
Locating Parts Diagrams
The Tennant S20 Parts Manual is structured to facilitate easy parts identification through comprehensive diagrams․ These diagrams are typically organized by system – for example, brush systems, vacuum systems, drive systems, and hydraulic systems – allowing users to quickly pinpoint the specific component they require․
Each diagram clearly labels individual parts with corresponding part numbers, crucial for accurate ordering․ Pay close attention to the model variations (Gas/LPG vs․ Battery) as some parts may differ between the two․ Diagrams often include exploded views, showcasing how components assemble, aiding in understanding and repair․
Referencing the manual’s index can further streamline the process, directing you to the relevant diagram based on the part name or function․ Utilizing these diagrams effectively minimizes errors and ensures you obtain the correct replacement parts for your Tennant S20 sweeper․
Tennant Parts Suppliers & Distributors
Sourcing genuine Tennant S20 parts requires utilizing authorized suppliers and distributors to guarantee quality and compatibility․ SweepScrub․com is a recognized online retailer specializing in Tennant parts, offering a wide selection including brushes, filters, and replacement components for the S20 model and others like the 800 and 8200 series․
Directly contacting Tennant’s official network of distributors is another reliable option․ These distributors possess in-depth product knowledge and can assist with identifying the correct parts based on your machine’s serial number․
When choosing a supplier, consider factors like parts availability, shipping costs, and return policies․ Prioritizing genuine Tennant parts ensures optimal performance and longevity for your S20 sweeper, avoiding potential issues associated with aftermarket alternatives․
Using the Parts Manual Effectively
Maximizing the utility of the Tennant S20 parts manual, revision 13 (02-2022), begins with understanding its organization․ Locate detailed parts diagrams to visually identify components and their corresponding part numbers․ Cross-referencing these numbers with the manual’s parts lists is crucial for accurate ordering․
Pay close attention to model-specific information, as the S20 comes in gas/LPG and battery variations․ Utilize the manual’s index to quickly find information related to specific systems – drive, hydraulic, or electrical․
Always verify the part number before ordering to ensure compatibility and prevent delays․ Keep the manual readily accessible for maintenance and repair tasks, promoting efficient troubleshooting and minimizing downtime․
Safety Precautions
Always disconnect the battery before repairs․ Follow all safety guidelines outlined in the Tennant S20 manual, revision 13 (02-2022), for safe operation․
General Safety Guidelines
Prior to any maintenance or repair work on the Tennant S20, ensure the machine is completely powered down and the key is removed from the ignition․ Disconnecting the battery is a crucial first step to prevent accidental starting and potential injury․ Always wear appropriate personal protective equipment (PPE), including safety glasses and gloves, to shield against debris and chemicals․
Be mindful of moving parts, especially within the brush and vacuum systems․ Never attempt repairs while the machine is elevated; use approved lifting devices and secure support․ Familiarize yourself with the location of emergency stop switches and ensure they are functioning correctly․ Refer to revision 13 (02-2022) of the parts manual for detailed safety information specific to the S20 model, whether gas/LPG or battery powered․
Specific Safety Notes for Repairs
When servicing the hydraulic system, relieve all pressure before disconnecting any lines to avoid fluid injection injuries․ Exercise extreme caution when working with the electrical system; always disconnect the battery and use insulated tools․ When replacing brushes or components within the SweepSmartt system, ensure the machine is stable and supported to prevent accidental movement․
During brake system maintenance, use appropriate brake cleaner and avoid contact with skin․ Refer to the Tennant S20 parts manual (revision 13, 02-2022) for torque specifications and proper assembly procedures․ Always double-check connections after repairs and perform a thorough test run in a safe area before returning the machine to service․ Remember to consult the manual for gas/LPG or battery-specific safety considerations․

Troubleshooting Common Issues
Refer to the S20 parts manual (Rev․ 13, 02-2022) for diagnostic procedures and solutions to frequent problems with this industrial sweeper․
Diagnostic Procedures
Effective troubleshooting of the Tennant S20 begins with a systematic approach, utilizing the comprehensive parts manual (Revision 13, dated 02-2022) as a primary resource․ Begin by carefully observing the machine’s behavior and noting any unusual sounds, smells, or performance deviations․ Consult the manual’s sections pertaining to the affected system – whether it’s the drive system, vacuum, or hydraulic components․
Employ a process of elimination, checking for obvious issues like loose connections, damaged wiring, or worn brushes․ Utilize a multimeter to test electrical components, referencing the wiring diagrams within the manual․ For hydraulic systems, inspect fluid levels and check for leaks․ Always prioritize safety and disconnect the power source before performing any internal inspections or repairs․ Detailed schematics and parts breakdowns within the manual are crucial for accurate diagnosis․
Common Problems & Solutions
Based on user experiences and the Tennant S20 parts manual (Rev․ 13, 02-2022), several issues frequently arise․ Worn brushes, easily identified and replaced using the manual’s parts diagrams, lead to ineffective sweeping․ Vacuum system malfunctions often stem from clogged filters – regular cleaning, detailed in maintenance schedules, resolves this․ Drive system issues may involve belt slippage or motor problems; the manual aids in identifying correct replacement parts․
Hydraulic leaks, addressed with appropriate seals from the parts list, and electrical faults, diagnosed using wiring diagrams, are also common․ SweepSmartt system errors require referencing the system-specific sections․ Remember to always consult the manual for torque specifications and proper installation procedures when replacing components, ensuring optimal performance and longevity of the Tennant S20․
Manual Revision History
Revision 13, dated 02-2022, serves as the current North America/International guide for both Gas/LPG and Battery powered Tennant S20 models․
Revision 13 (02-2022) Details
This significant revision, released in February 2022, encompasses comprehensive updates for the Tennant S20 rider sweeper, applicable to both North American and International markets․ It specifically addresses both the Gas/LPG and Battery powered variants of the S20, ensuring accurate information for service and repair procedures․ The manual details specifications for this industrial rider machine, designed for effective sweeping of diverse hard surfaces including concrete, asphalt, stone, and synthetic flooring․
Key improvements within Revision 13 focus on clarifying parts identification, enhancing safety precautions, and streamlining routine maintenance schedules․ Users will find detailed guidance on diagnostic procedures and solutions for common operational issues․ This updated manual is crucial for technicians and operators alike, promoting efficient operation and extending the lifespan of the Tennant S20 sweeper․